Lightning Web Components Tutorials
Series of blog posts on Lightning Web Components that helps you ramp up your LWC skillset.
Lightning Web Components is the new kid in the block who is receiving all the attention.
In the following series of blog posts I will be guiding you in ramping up your LWC skills. In case you are not someone whose interested in going through the videos rather than following the blogs then this is for you.
Okay let’s dive in..
As a pre-requisite you need a couple of softwares in place before you start your Lightning Web Component Tutorials.
- sfdc cli - This is the command line tool that’s given by Salesforce. We can run a bunch of commands from Terminal using
sfdx cliand they get executed on your Salesforce orgs. - VSCode - This is an open source code editor backed by Microsoft. VSCode also has a marketplace that we can use and install extensions which will help us build Lightning Web Components.
The installation process is going to the pretty much starlight forward and hence am leaving it to you. In case you face any difficulty in installing it, give me a shout out and I would be more than happy to help.
This is going to be the first step in your journey towards Lightning Web Component Tutorials.
Create a project with manifest
Once we have the editor and extensions in place, we need to start off creating a project. We need to open up the command palette and we get access to it using the shortcut keys ctrl + shit + p if you use a pc and cmd + shift + p in case you use a mac.
The command palette opens up, you need to search for create project and you will get to see these options.
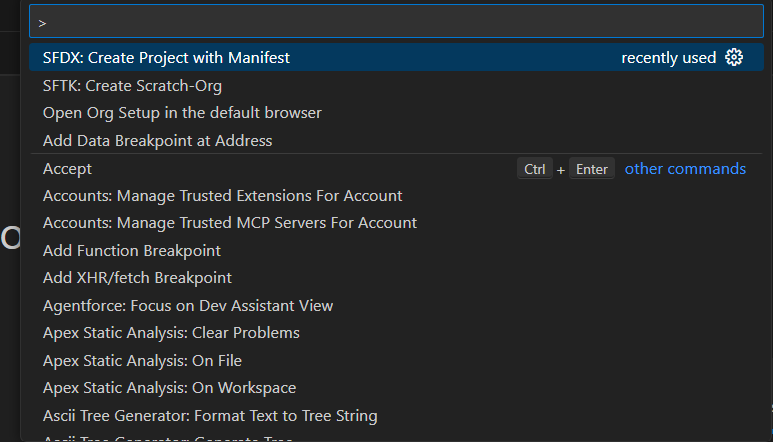
You need to go ahead with SFDX: Create project with manifest and in the next screen it’s going to ask you some more information(as shown in the image below).
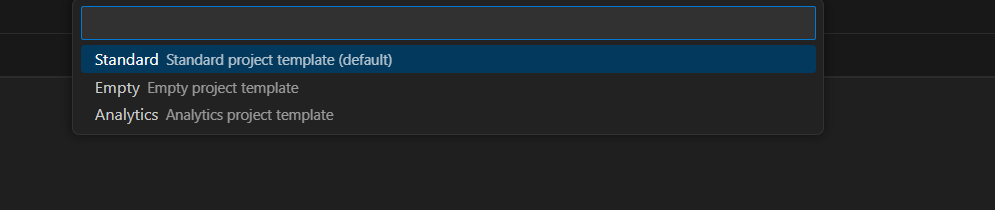
Based on the environment you are planning to configure your project, pick and choose one option.
We need to provide the last piece of the information before the project is created, which is alias to an org.

That’s it!
Once you provide this information the editor with the help of an extension is going to create a project for you.
Folder Structure
This is how the folder structure of the project is going to look like once it’s created.
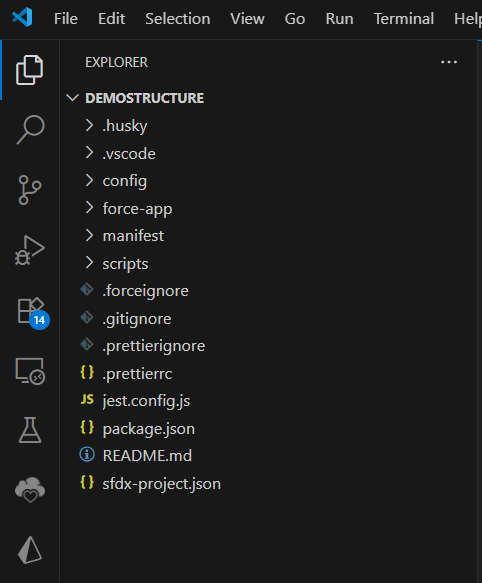
Did you notice a folder with the name lwc? That’s the place where all the web components we will be creating will be put into.
Authorise an org
We can now go ahead, create a web component and push it back to the org.
Wait! But where does it gets pushed/deployed?
We need to authorise an org before we start deploying the components, so that, the components will be pushed to the authorised org.
Okay then , how do we authorise an org?
Let us bring up the command palette once again and search for SFDX Authorize, post which you will be seeing something similar to the below image.
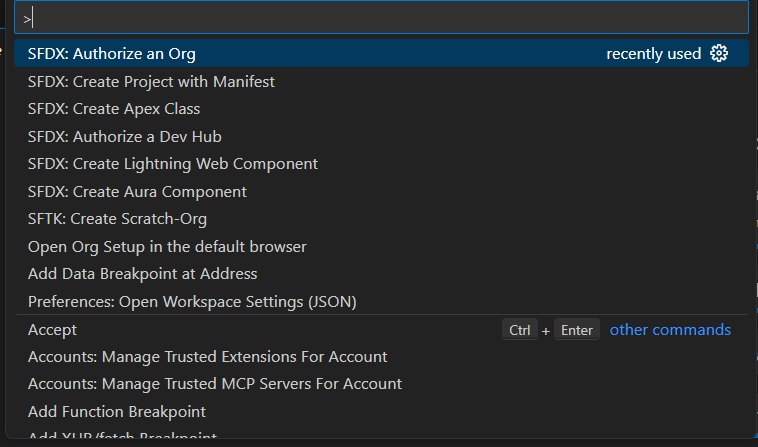
We need to go ahead with SFDX: Authorise an org.
It is immediately going to open up your default browser with the salesforce account login screen.
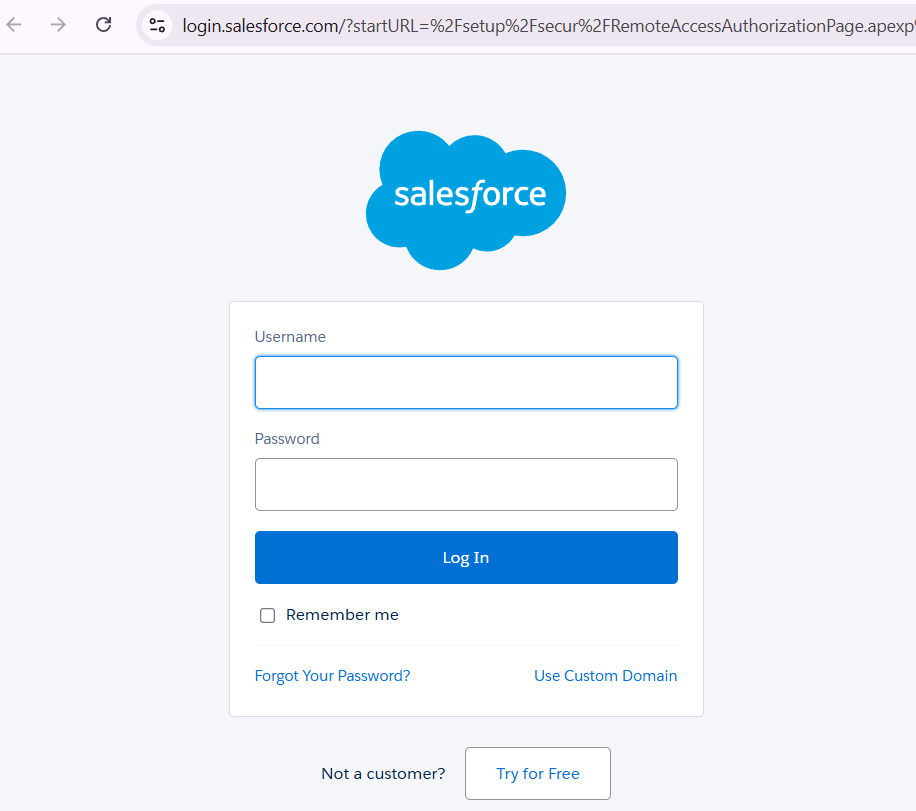
You need to login with your credentials, so that, when we deploy the code it gets pushed to this account.
That’s all for this post and we will be looking at creating a basic web component and deploying it to the org in the next one.
In case you are still not ready for Lightning Web Component Tutorials and in case you want to sharpen your Salesforce Development skillset you can check these hot tips.